
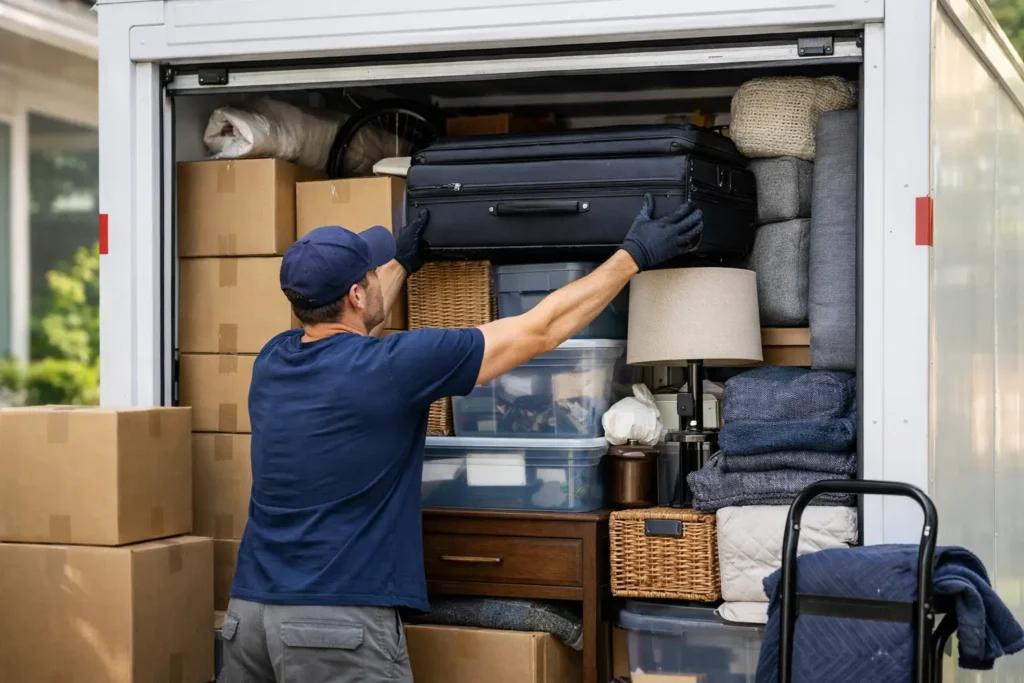
A storage pod can make a move feel much simpler. It arrives at your home, you load on your schedule, and it is picked up when you are ready. But that convenience can disappear fast if the pod is packed loosely, loaded out of order, or filled without a plan. This guide to packing a storage pod will help you protect your belongings, use the space you paid for, and avoid the frustrating last-minute shuffle when the door will not close.
Whether you are leaving an apartment in Austin, moving between homes, or storing furniture during a renovation, the best pod load starts before the first box goes inside.
Start With a Plan for Packing a Storage Pod
Do not treat the pod like a large closet. Everything that goes in should have a purpose and a place. Before delivery day, walk through every room and separate belongings into three groups: items going into the pod, items traveling with you, and items that should be donated, sold, or tossed.
This is also the time to measure large furniture. Know the dimensions of your sofa, mattress, dresser, dining table, and appliances. A storage pod has a fixed opening and a fixed floor area, so one bulky item placed the wrong way can waste a surprising amount of room.
Create a simple loading order based on weight and size. Heavy, sturdy furniture and tightly packed boxes belong toward the front of the pod. Lighter boxes, fragile items, and things you may need soon should stay closer to the door. If you are using the pod for storage rather than an immediate move, leave a narrow access path only if you truly need it. A walkway costs space, so it is not always worth it.
Get the Right Supplies Before Loading Day
Good packing materials are cheaper than replacing damaged furniture. Use boxes that are strong, dry, and similar in size whenever possible. Uniform boxes stack more securely than a random mix of grocery-store cartons and oversized bins.
You will usually need moving blankets, stretch wrap, sturdy packing tape, furniture pads, mattress bags, ratchet straps or rope rated for moving, and a hand truck. Keep a utility knife and permanent marker handy, too. Label boxes on at least two sides with both the room and a short description, such as “Kitchen – mugs” or “Bedroom – winter clothes.”
Avoid using trash bags for anything breakable or heavy. They tear easily, provide almost no protection, and make it difficult to stack safely. Plastic totes can work for lighter household goods, but make sure their lids lock firmly and do not flex under weight.
Load the Heaviest Items First
The front wall of the pod should become a stable foundation. Start with appliances, solid wood furniture, heavy book boxes, and other dense items. Keep the weight low and spread it across the floor rather than piling it all on one side.
Place large furniture upright when it is designed to stand that way, but use judgment. Sofas often fit best standing on end, while dressers may load better upright with drawers secured. Remove legs from tables when possible and bundle the hardware in a labeled bag taped to the furniture frame. Do not tape directly onto finished wood or upholstery.
Wrap every finished furniture surface in moving blankets before securing it with stretch wrap. Stretch wrap holds pads in place, but it is not a substitute for padding. It can also trap moisture if wrapped around damp items, so make sure everything is dry before loading.
As you build each row, use ratchet straps to keep the load from shifting during transport. Most storage pods have interior tie-down points for this reason. Strap across the load at multiple heights instead of relying on one strap near the top. The goal is a solid wall of belongings, not a pile that can lean forward when the pod moves.
Build Tiers Instead of Creating Tall, Unstable Stacks
Think in layers. Heavy boxes make the bottom tier, medium-weight boxes fill the middle, and light items finish the top. Keep box stacks square and as level as possible. If a stack begins to tilt, rebuild it right away rather than hoping it settles.
Use soft items to fill small gaps. Bags of linens, pillows, comforters, and couch cushions are useful buffers between furniture and boxes. They should fill voids, not support heavy weight. Never place a heavy box on a bag of clothes and expect it to stay level.
Protect Fragile Items From Pressure and Movement
Fragile boxes should be clearly marked, but markings alone will not protect them. Pack dishes vertically with plenty of paper between each piece, and fill empty space inside the box so nothing rattles. Small appliances, lamps, mirrors, and artwork need extra padding and should not sit under heavier boxes.
Mirrors and framed art should travel upright, never flat beneath a stack. Protect the corners, wrap the entire piece, and place it between mattresses, padded furniture, or firm boxes where it cannot slide. Television screens should stay upright in their original box when available. If the original box is gone, use a properly sized TV box and keep it protected from direct pressure.
A common mistake is loading fragile belongings near the pod door because they are easy to reach. That area gets bumped as loading continues, and it is often the first place things shift when the door is opened. Instead, place fragile items in a protected upper layer or a secure pocket between padded items.
Use the Space Without Overpacking It
The best-packed pod has very few empty gaps, but it is not crammed so tightly that boxes crush one another. Fill awkward spaces with smaller, lighter cartons or soft household goods. Nest items when it is safe to do so. For example, stack dining chairs with padding between them, and place lightweight bins beneath a table after its legs are removed.
Be careful with overfilled boxes. A box that bows at the sides will not stack well and can collapse under pressure. Repack it into two smaller cartons. This takes a few more minutes at home and can save hours of rearranging later.
Keep a small essentials area near the door for items you will need right away, such as cleaning supplies, basic tools, bedding, or the first box for each room. If the pod is headed into long-term storage, take photos of the loaded rows and keep a simple inventory on your phone. You will be glad you did when you need one specific item months later.
Do Not Pack Items That Can Create a Problem
Storage pods are not the place for hazardous, perishable, or leaking items. Do not load gasoline, propane tanks, fireworks, paint thinner, chemicals, ammunition, or anything that can ignite, spill, or damage nearby belongings. Perishable food can attract pests and leave odors behind.
Plants are another item to think twice about. They can suffer in heat or cold and may not be allowed in a transported container. This matters especially during a hot Phoenix summer or a cold-weather move in Salt Lake City. Keep plants, medications, important documents, valuables, and sentimental items with you whenever possible.
Make Loading Day Easier With Labor-Only Help
A storage pod is a smart budget option, but loading one is still demanding work. Heavy furniture needs to be carried safely, stacked carefully, and secured properly. Rushing the job can lead to damaged walls, strained backs, or a load that shifts on the road.
College Movers provides motivated local student labor for pod loading and unloading, apartment moves, and heavy lifting. You provide the pod and supplies, while the crew handles the physical work and helps build a more secure load. At $50 per hour per mover, it is a straightforward way to get capable help without paying for a full-service moving truck you do not need.
If your move is coming up, schedule College Movers for the loading or unloading help that makes the whole pod process more manageable. A prepared crew, clear loading plan, and properly packed boxes can save time from the first lift to the final strap.
Before the pod door closes, take one final look for loose items, unstrapped rows, and empty spaces that could allow movement. A few careful minutes at the end are often what keep your belongings safe until the next door opens.